iHeartFaces :: Fix It Friday
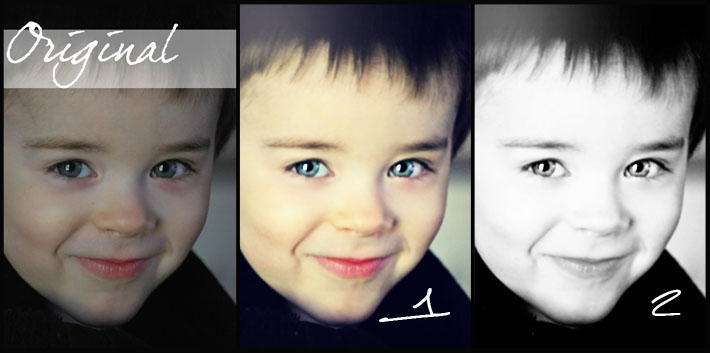
Today is Friday, so therefore it is Fix it Friday! Here are all my fixes for this particular photo.
It was a pretty challenging one this week, but I think I did pretty good.
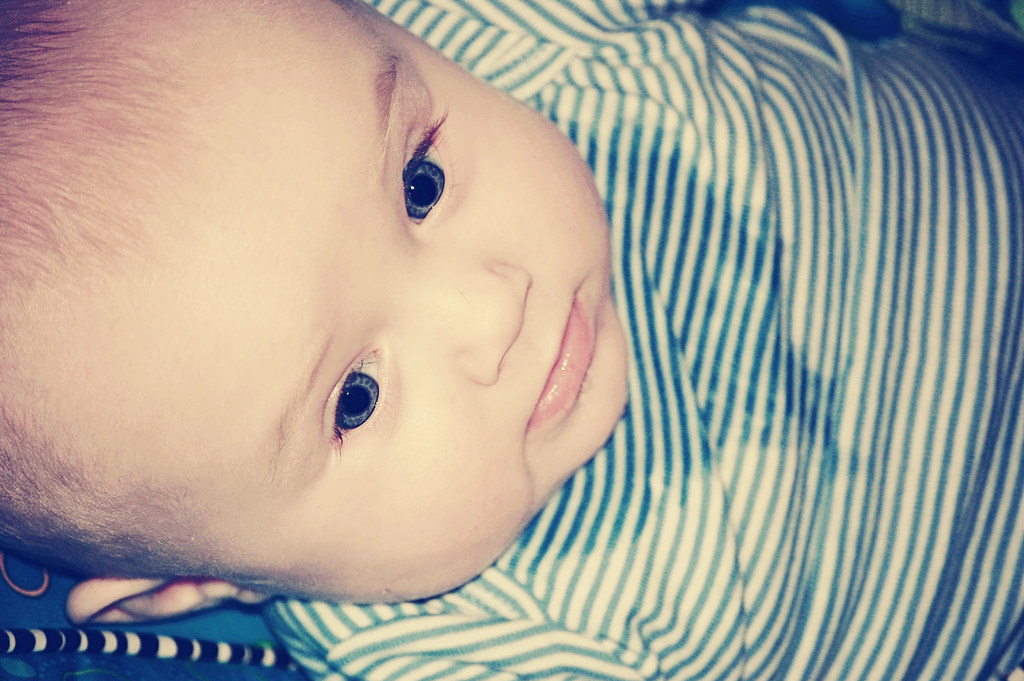
iHeartFaces :: Let's Hear It For The Boys
Kids :: Boys
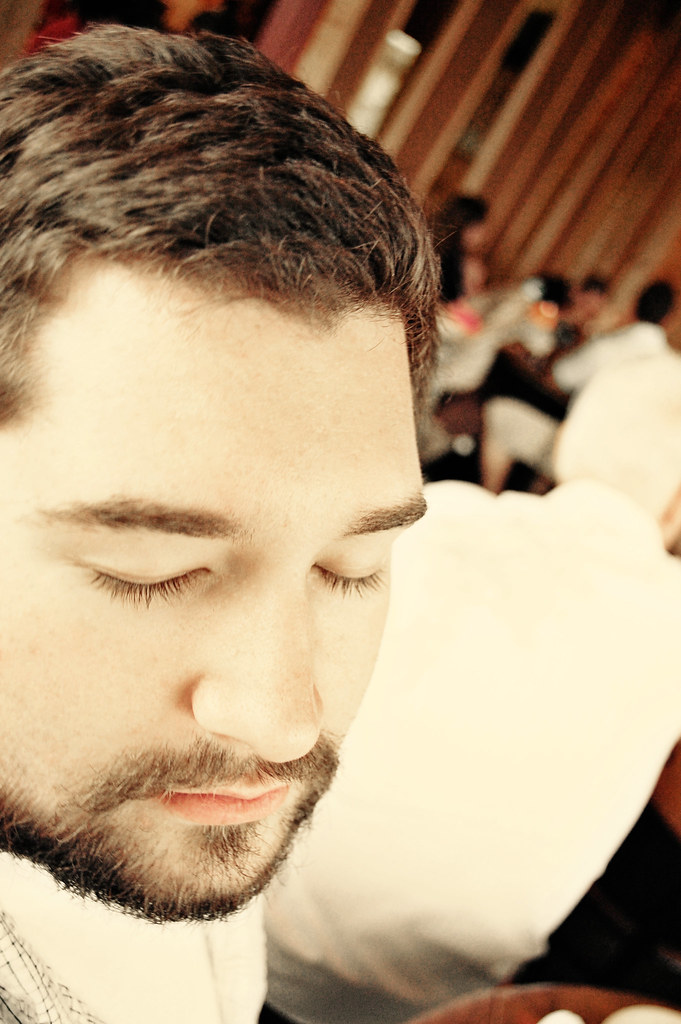
Adult :: MAN
iHeartFaces does this great thing. Head over and play along... you know you want too.
Fix It Friday
Another one of those fix it Friday dealys... I only did one this week. I ran out of time.
This is the original.Here is my edited! :)
If you would like to check out what other people did to fix this photo head over to iHeartFaces. You'll love it.
This is the original.Here is my edited! :)
If you would like to check out what other people did to fix this photo head over to iHeartFaces. You'll love it.
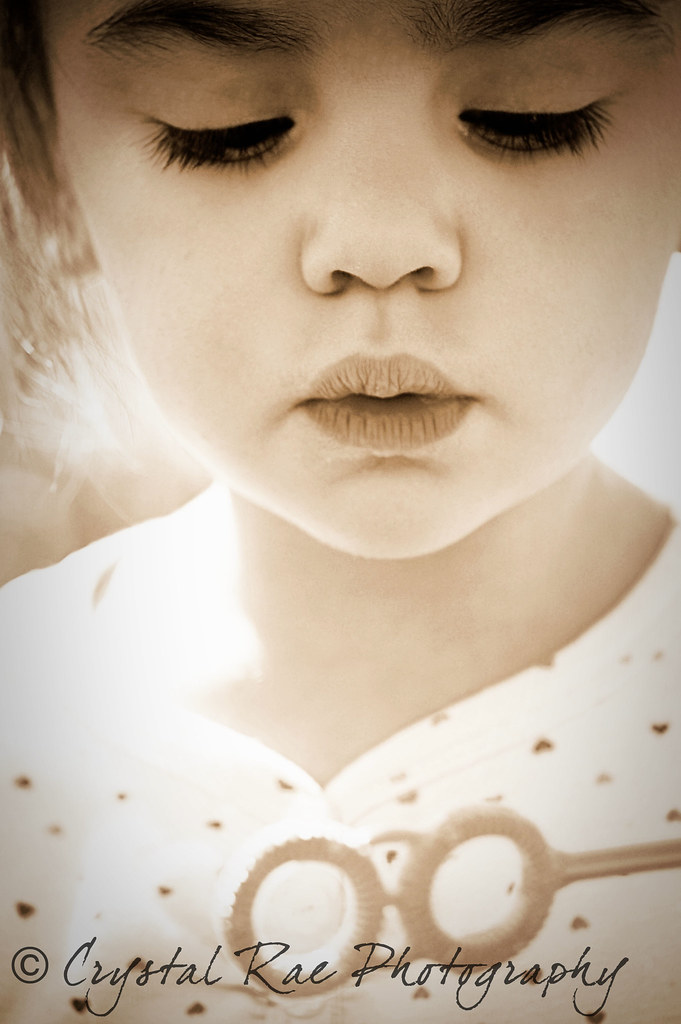
iHeartFaces :: Sepia Tone
Adult:: Sepia Tone
iHeartFaces category this week is Sepia tone... this is what I came up with, what have you got?
Go ahead, click your way on over there.
1st Ever Tutorial: Make Those Eyes Pop
I had Alice, a fellow blogger and photographer, ask me how I get the eyes to pop the way I do. So I decided, since it's so easy and simple, to do a quick tutorial on eyes. It's extremely easy and once you get the hang of it you'll want to be making the eyes pop in everyone of your pictures. :)
So first you'll want to pick your photo, it works best on face shots that are straight on but I've done this with corner eyes as well.
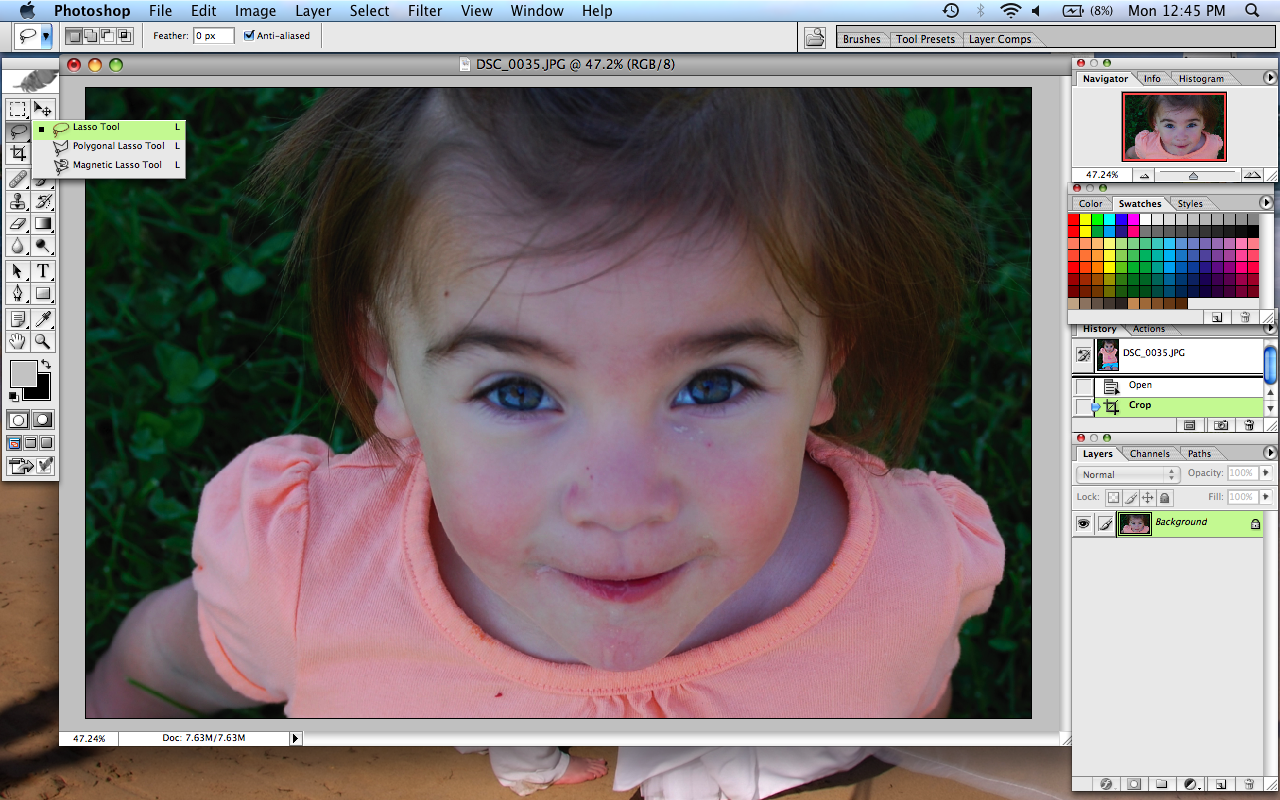
Once you have chosen you photo you'll want to zoom in a little to the eyes.
Next you'll need to click on your lasso tool. You'll want to go around the colored part of the eye. It doesn't have to be perfect, we'll fix that in a moment. Just make sure you try and get it at the very edge.
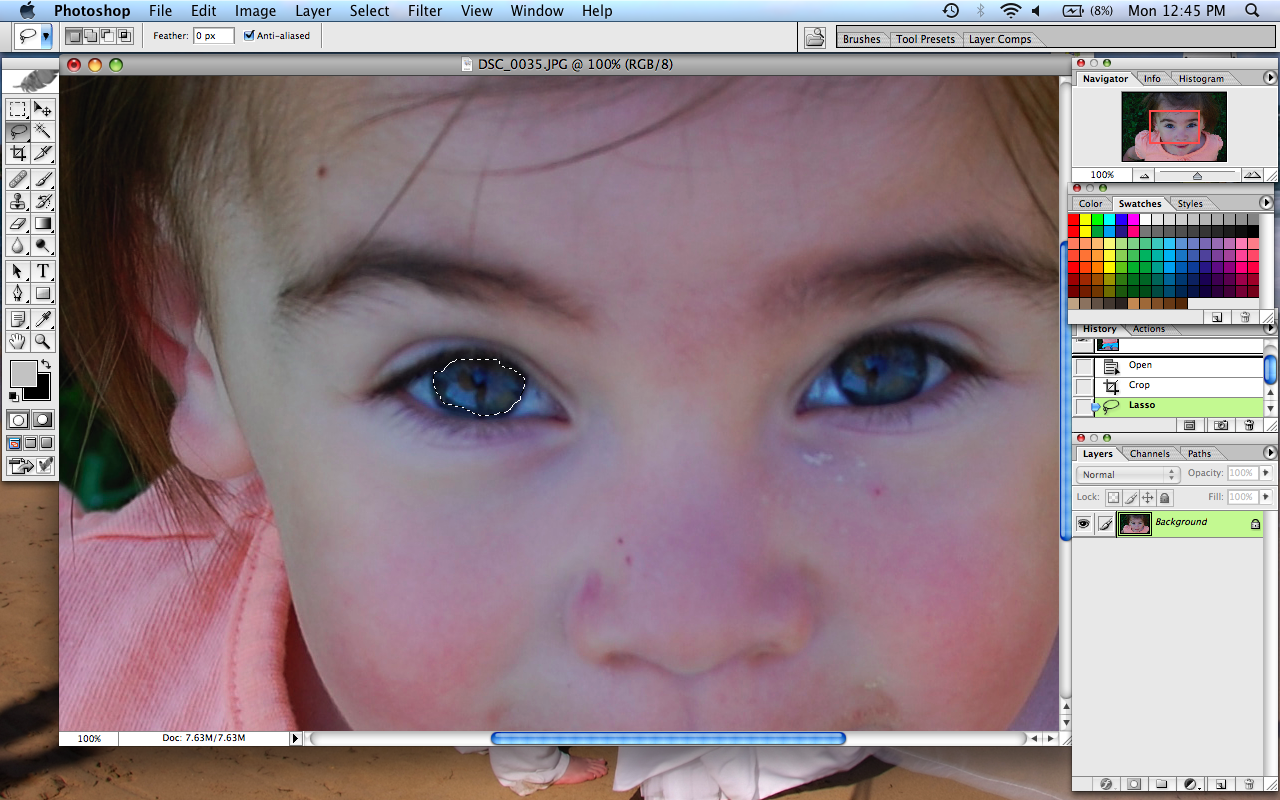
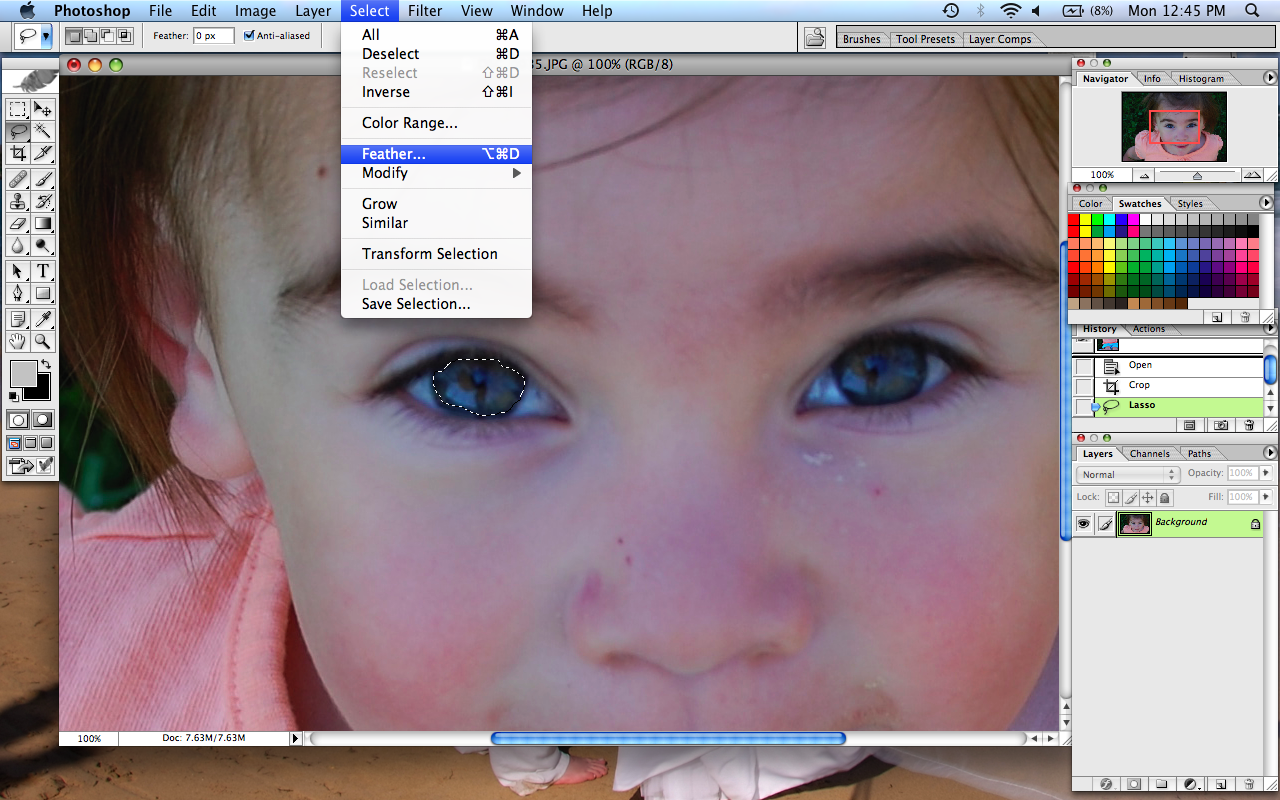
Once you've lassoed your one eye you'll need to click the feather button. Find select, and scroll down to feather.
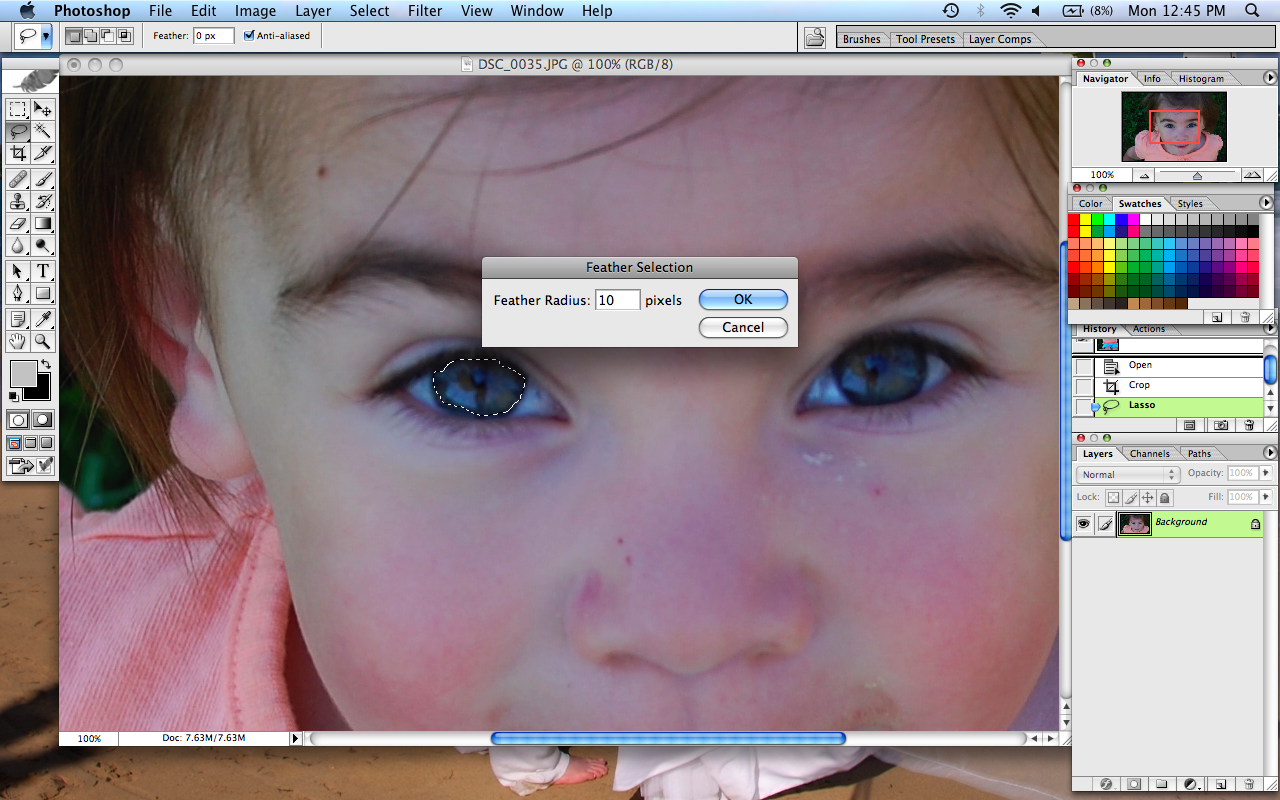
Once you've clicked the feather button this little box with appear. Most of the time 10 pixels will be perfect, but if it happens to make your lasso a lot bigger or a lot smaller you'll need to change the number. I've only had to go lower a few times. But 10 should be fine.
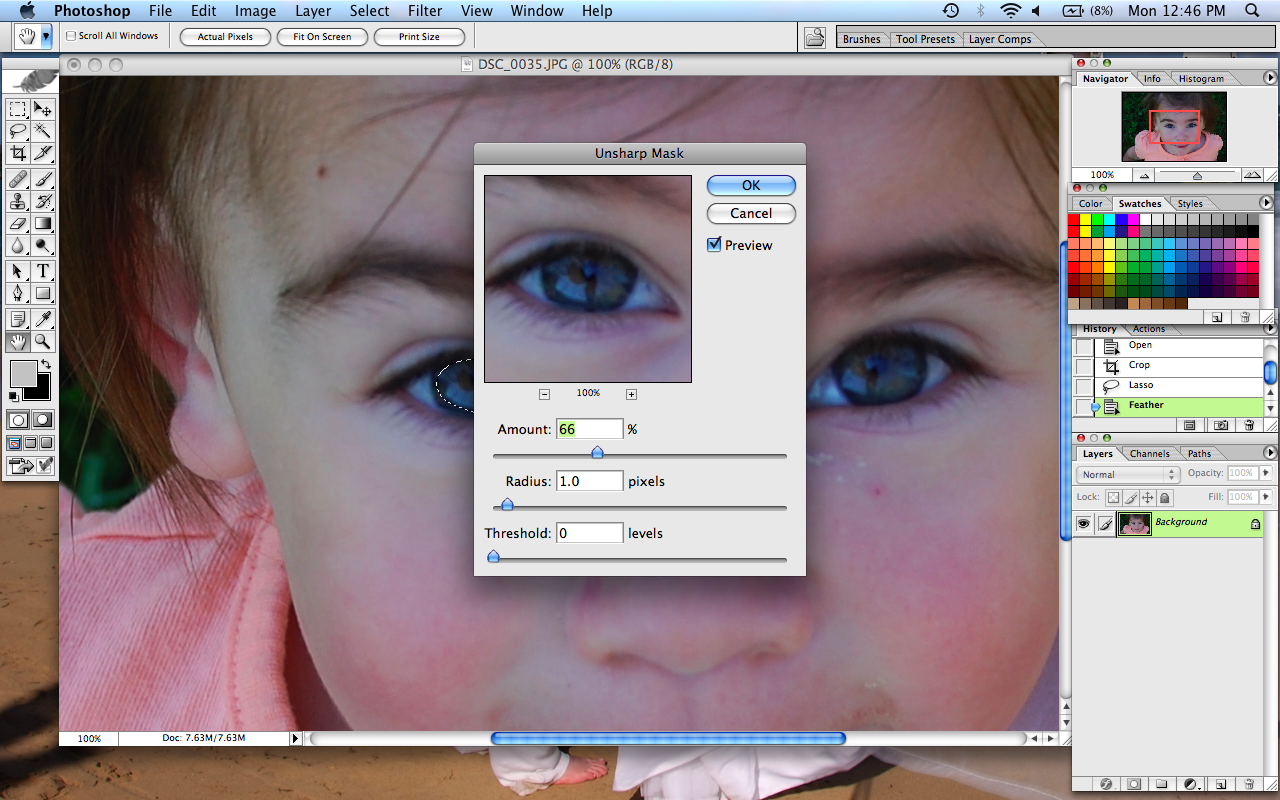
After you've feathered it you'll need to do the unsharp mask. Which is found under Filter, sharpen, and at the bottom is unsharp mask. Once clicked a box will appear...
When this box appears it will say Amount 50% you'll want to change it to 66%, this will make it just right.
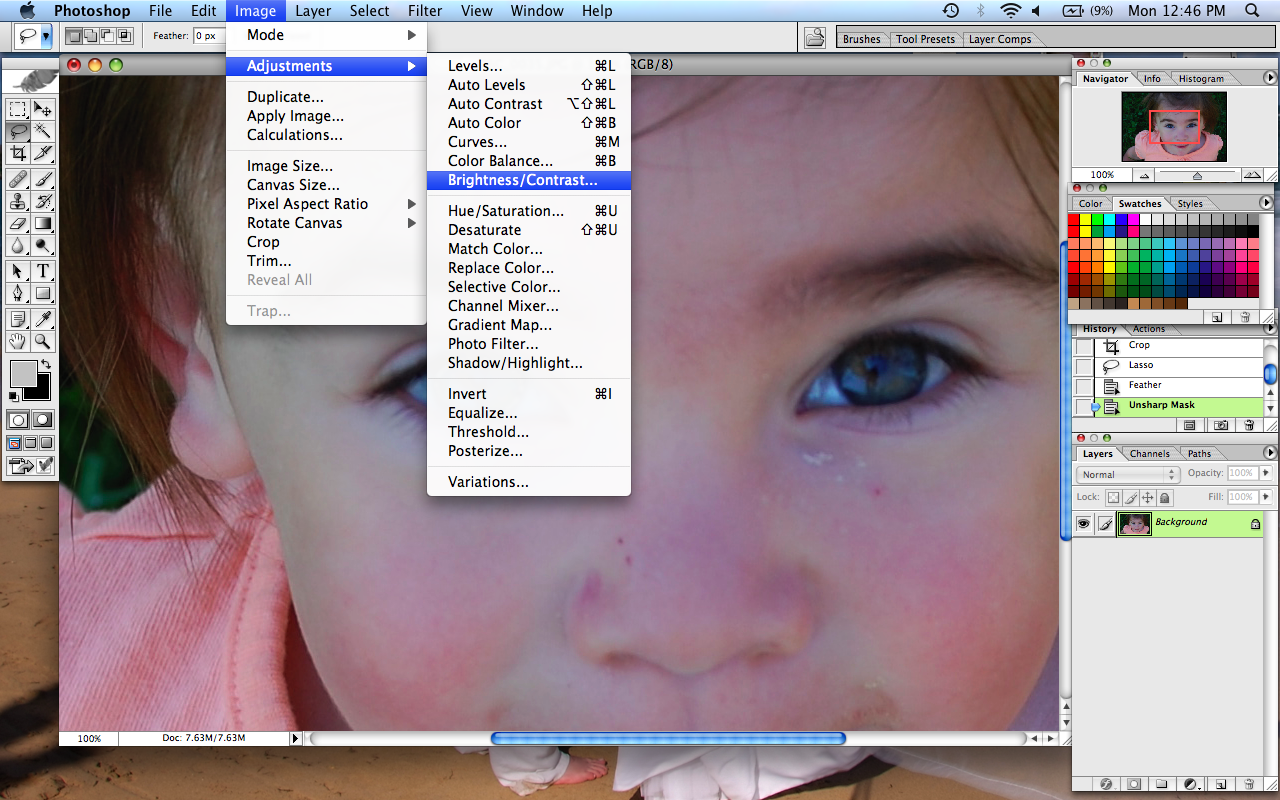
Now that we've done that you'll need to go into image adjustments, Go to Image on your top bar, find Adjustments, and then go to Brightness/Contrast. Now the contrast is the only thing you'll mess with.
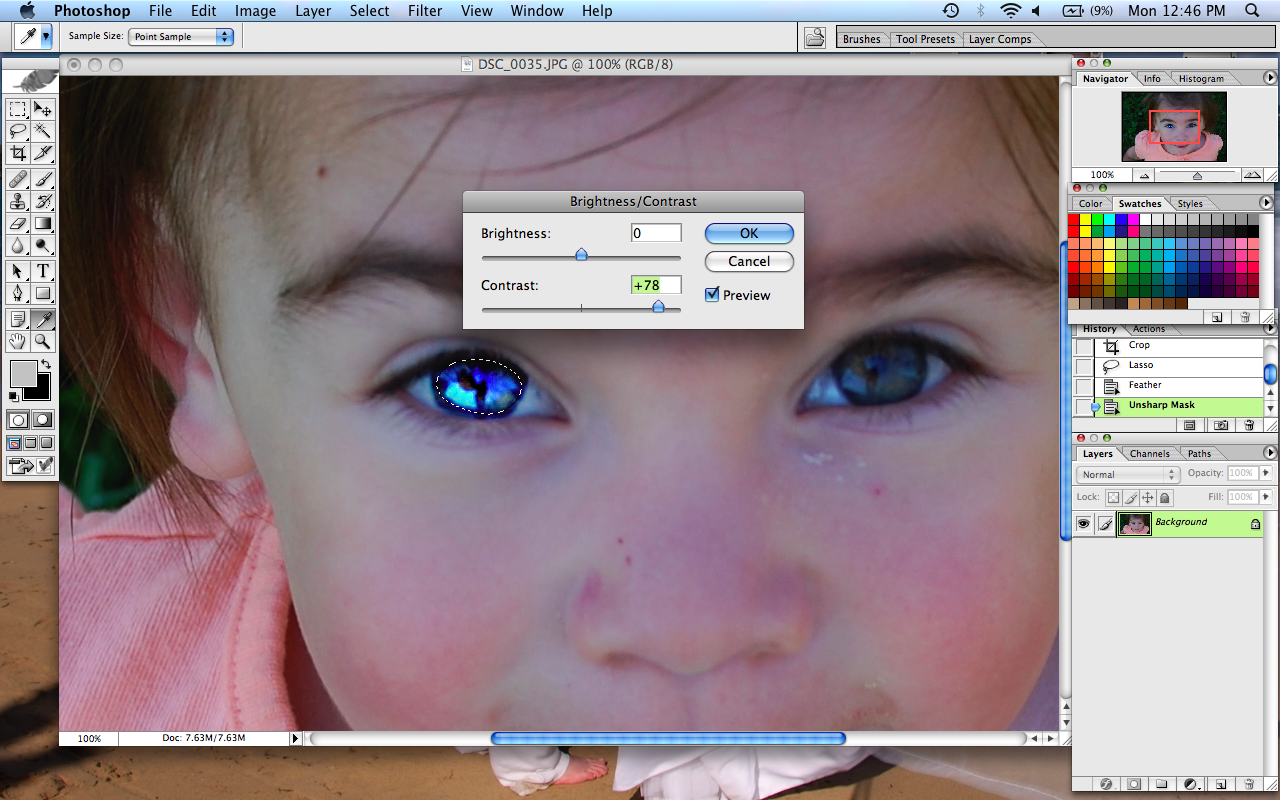
When adjusting your contrast be careful not to go to high, because then it can end up looking unnatural and weird. Like this...
Do the same with the other eye, and there you have it, the eyes pop. Do a couple things here and there, and wala, you have it. The eyes pop!
I hope you have been able to benefit from this tutorial. It was my first ever, so if you have any questions at all you can also email me or just leave a comment. :)
Fix It Friday: Really On Friday This Time
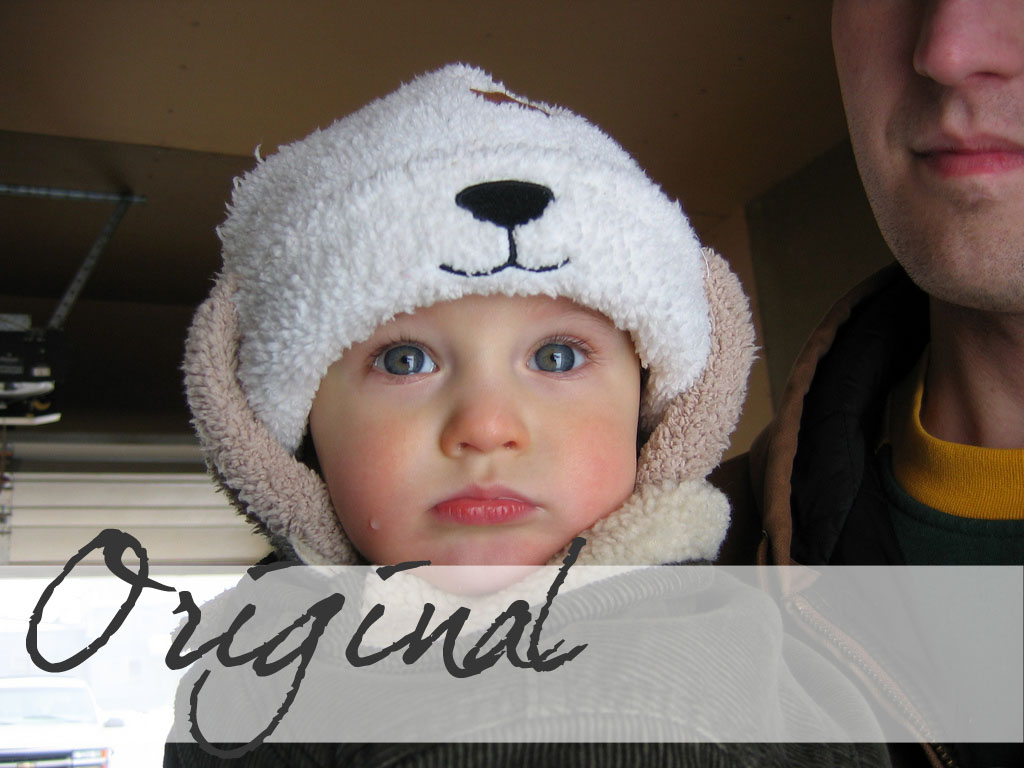
I found the time to do iHeartFaces fix it friday on Friday! Yay for me. Here is what I came up with for this particular photo.
I just love Fix It Fridays... I get to play with the photos and figure out new ways to make photos look better. Thanks Amy & Angie, for doing what you do @ iHeartFaces. Woot to you two!
Children @ Play
Subscribe to:
Posts (Atom)